
I wonder how long it will take me to write this post, because I literally have glitter everywhere on me ... hands, legs, face ... even my eyes! There's like this little glimmer when I look around, maybe its on my eyelash. Wow, that is annoying ...
Well, tonight (last night once this posts), I spent the afternoon and part of the evening making pretty, little glittery ornaments for my Pink Christmas tree. Once day, when we finally have a place for this second tree, it is going to be decked out in all sorts of shiny homemade ornaments.
Last weekend, I braved the after Thanksgiving shopping madness (on Sunday) after my son's play date. It was a well thought out plan because I knew he'd be tired and sit in the cart and play with his LeaPad. I managed to get quite a few things onsale or with coupons. One of them was a variety of mismatched cardboard Christmas ornaments.
Today, I decided to get started on decorating two shapes, the stars and a dreidel sort of shaped ornament. The plan was quite simple, I would use a paint brush to spread glue onto the ornaments and them sprinkle with glitter and let dry, then do the otherside. It wasn't so much the technique I was using, but the work-surface.
You see that brown matt laying under my supplies, that is a Grip-n-Press by Bear Thread Designs. They actually have a variety of work-surface protectors, but this one was the best choice for this project.

First, the bottom has a non-skid material on it which keeps it from moving around on my table. That is quite important with a curious 4-year-old wandering in and out of the kitchen while I worked. The top side is a non-stick surface. Since nothing sticks to the surface, I poured my glue right on top of it, like a paint palette. Once I'm finished, I can just wipe up any excess with a wet paper towel (or baby wipe) and lt it air dry. Even dried glue/paint/etc wipes right off! Love it!!

To make the ornaments, I just "painted" glue on a small section of the ornaments, then sprinkled glitter over it.

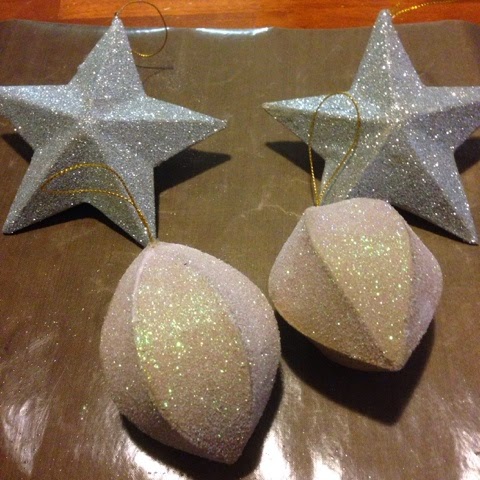
Wht a fun and quick project! The silver stars turned out better than I imagined, and the pink will have a second layer later since I got a really light colored and fine textured glitter. Its a baby pink and the brown cardboard shows through.
Later, after they dry completely, I will cover with a resin or other protecting agent to make sure the glitter doesn't fall off.
Until our next cup of tea ...

